
How To : Mint Matcha Smoothie
As someone who is passionate about only eating whole, clean ingredients, this smoothie was perfect for the job. Not only is it quick to make, but it is full of clean, green energy and is packed with protein that will leave you full.
Recipe Type: Vegan, Gluten Free, and Soy Free
Makes: 1 smoothie
Reusable materials:
+ glass jar
+ blender
+ measuring spoons
+ measuring cup
Ingredients:
1 Pear
½ Avocado
1 tbsp. Cooking Grade Matcha Powder
1 tsp. Spirulina
¼ cup chia seeds
½ cup Vanilla Flax Milk
4 mint leaves
Instructions:
+ Cut pear and avocado into chunks in order to be more evenly blended
+ Add cut pear, avocado, chia seeds, spirulina, matcha, flax milk, and crushed mint leaves to blender
+ Blend mixture until there is a consistent thick seafoam color. If you want a higher liquid content, add ¼ cup more flax milk at this point and blend again.
+ Pour mixture into a glass jar/cup and enjoy!
Ingredients are flexible and up to your discretion, you could add in cacao to create a chocolate peppermint type taste. If you have a specific allergy, feel free to change out the ingredients to something that is compliant with your needs.
Happy Making Darlings!
How To : Sweet Potato Truffle Fries

All rights reserved. Images and content are not to be published elsewhere unless consent has been granted.
As someone who is passionate about eating whole, clean ingredients, these truffle sweet potato fries were a no-brainer. These are perfect to bring to a party, an appetizer to snack on while watching the game, or the side dish to a cozy dinner at home.
Recipe Type: Vegan, Gluten Free, and Soy Free
Makes: 4 Servings
Prep: 10 minutes | Production: 40 minutes
Reusable Materials :
Cooking Sheet
Aluminum Foil
Grated Knife
Ingredients :
4 medium sweet potatoes
2 tbsp. Cold Pressed Avocado Oil
1 Garlic Clove (or 1 tsp. garlic powder)
2 tbsp. Vegan Parmesan Cheese Crumbles
1 tbsp. Chopped Parsley
Instructions :
+ Heat oven up to 400° Fahrenheit / 200° Celsius
+ Wash sweet potatoes vigorously
+ Start by cutting off ends and then slice down middle (widthwise) creating two halves then cut each half into smaller slivers
+ Cover the cooking sheet with aluminum foil and evenly spread the pieces out then lightly drizzle with avocado oil
+ Create a spice mixture, garlic is standard but feel free to add paprika or sea salt then lightly shake mixture across the pieces, following up w/ the chopped parsley
+ Place pan in oven for approx. 40-45 minutes, the crispier the better
Recommended Dipping Mixtures: Vegan Mayo, Vegan Aioli Sauce, Vegan Ranch, and of course the crowd favorite, Guacamole.
Happy Making Darlings!
How to : Coconut Matcha Energy Bars

All rights reserved. Images and content are not to be published elsewhere unless consent has been granted.
As someone who is passionate about only eating whole, clean ingredients, this bar was a no-brainer. The bar is perfect for a pre-workout snack or a quick breakfast grab with its clean, green energy, protein and there is no added sugar like bars you would find at the store.
Recipe Type: Vegan, Gluten Free, and Soy Free
Makes: 8 bars
Prep: 5 minutes | Production: 60 minutes
Reusable materials:
+ glass storage container
+ parchment paper
+ food processor/blender
Ingredients:
1 ¼ cups organic dates, pitted + chopped (approx. 8 dates)
½ cup pumpkin seeds
½ cup cashews
¼ cup hemp seeds
1 tsp. vanilla bean extract
1 tbsp. cooking grade matcha powder w/ additional for sprinkling
2 tsp. spirulina
¼ cup toasted coconut flakes
Instructions:
+ Combine dates, cashews, pumpkin seeds, hemp seeds, vanilla, matcha, spirulina, and toasted coconut flakes (leave enough to lightly sprinkle) in food processor/blender and pulse until well-combined. The mixture should stick easily stick together, if it is falling apart, add a few more dates and process again until combined.
+ Pull a sheet of parchment paper (so bars are easily removable) and spread out the mixture, lightly sprinkle remaining toasted coconut flakes and matcha. Pull edges of the sheet over mixture (imagine wrapping a gift) and press until mixture is formed together in a long bar.
+ Place parchment wrapped bar in freezer for at least 60 minutes (longer won’t hurt it)
+ Remove bar from the freezer and unwrap parchment paper, cut into bars and store in your fridge for up to 1 week.
Ingredients are flexible and up to your discretion, you could swap out pumpkin seeds for cacao nibs or dried fruit. If you have a specific nut allergy, feel free to swap out cashews for one that is compliant w/ your allergen needs.
✨ Happy making darlings ✨
How to : Homemade Coconut Mylk

All rights reserved. Images and content are not to be published elsewhere unless consent has been granted.
As someone who is passionate about living zero waste, plastic free, cruelty-free, and wholly aware of what I am putting in my body, it only feels natural to learn to make foods that would be easier to buy.
First stop: Coconut mylk.
As a vegan, this route feels a bit easier than someone who participates in the dairy industry. My initial step to accomplishing this was picking up the packaging materials from a grocer. All of the materials will be listed where I initially picked them up, however, these can be picked up just about anywhere. Making your own mylk after the initial production costs will be cheaper than what you would normally pay.
Prep: 5 minutes | Production: 2.75 minutes
Reusable materials:
+ Nut Mylk Straining Bag (Whole Foods – mine is mesh)
+ Glass Container (Target)
+ Optional: Funnel
Coconut Mylk Ingredients:
+ 2 Cups of Shredded Coconut – Sweetened or Unsweetened (Trader Joes)
+ 4 Cups of Water (your tap)
+ Dash of Cinnamon (Whole Foods)
+ Himalayan Pink Salt (Trader Joes)
Instructions:
1. Purchase all of the items over the course of time, feel free to search around for items that fit your budget and that you can use long term. These items can also be used for making cold-brew and other items at home!
2. In a blender, add all of your ingredients together and blend until satisfied with the milky smoothness. Keep in mind there will still be some shreds of coconut floating around.
3. Open up your jar or bottle and add the mesh bag either atop the bottle or atop the opening of the blender opening. Slowly pour the ingredients, don’t be concerned with the amount of pulp. Once all of the milky contents have poured in, lift the bag of pulp and squeeze until you cannot get anything out. (note: a funnel could be helpful if your jar or bottle has a small opening)
4. Zero Waste Option: Use the excess pulp and put it in an ice cube tray to be used later as a snack or in your coffee.
5. Ta Da! You did it! Now put that work of beauty in the fridge and shake to enjoy when you’re ready to use. The amount generated is based on how well it blends and will vary from batch to batch.
Every ingredient you use and the materials are totally up to your discretion. You are the one drinking this and you want it to work for you. Some sites to check out for ingredients: Fred Meyer, Whole Foods, Trader Joes, Meijer, Target, Walmart, Thrive Market*, Walgreens, CVS.
*When I was initially searching, something I loved about searching through Thrive Market was the option to purchase a kit. If you are intersested in the kit, DM me through Instagram (icon below) or through the contact box and I can get you a 15% off code for your first purchase. This is not a sponsored post, but I adore the accessibility of Thrive Market and always love to help others out!
Happy making darlings!
How To : Overnight Matcha Chia Pudding
All rights reserved. Images and content are not to be published elsewhere unless consent has been granted.
Vegan, Gluten Free, Soy Free, Dairy Free
Prep Time: 3 minutes | Refrigerate: min. of 4 hours
Makes: 3 Small Mason Jars
Ingredient List:
2 cups Coconut Milk*
1/2 tsp Matcha
1/2 cup Chia Seeds
Instructions:
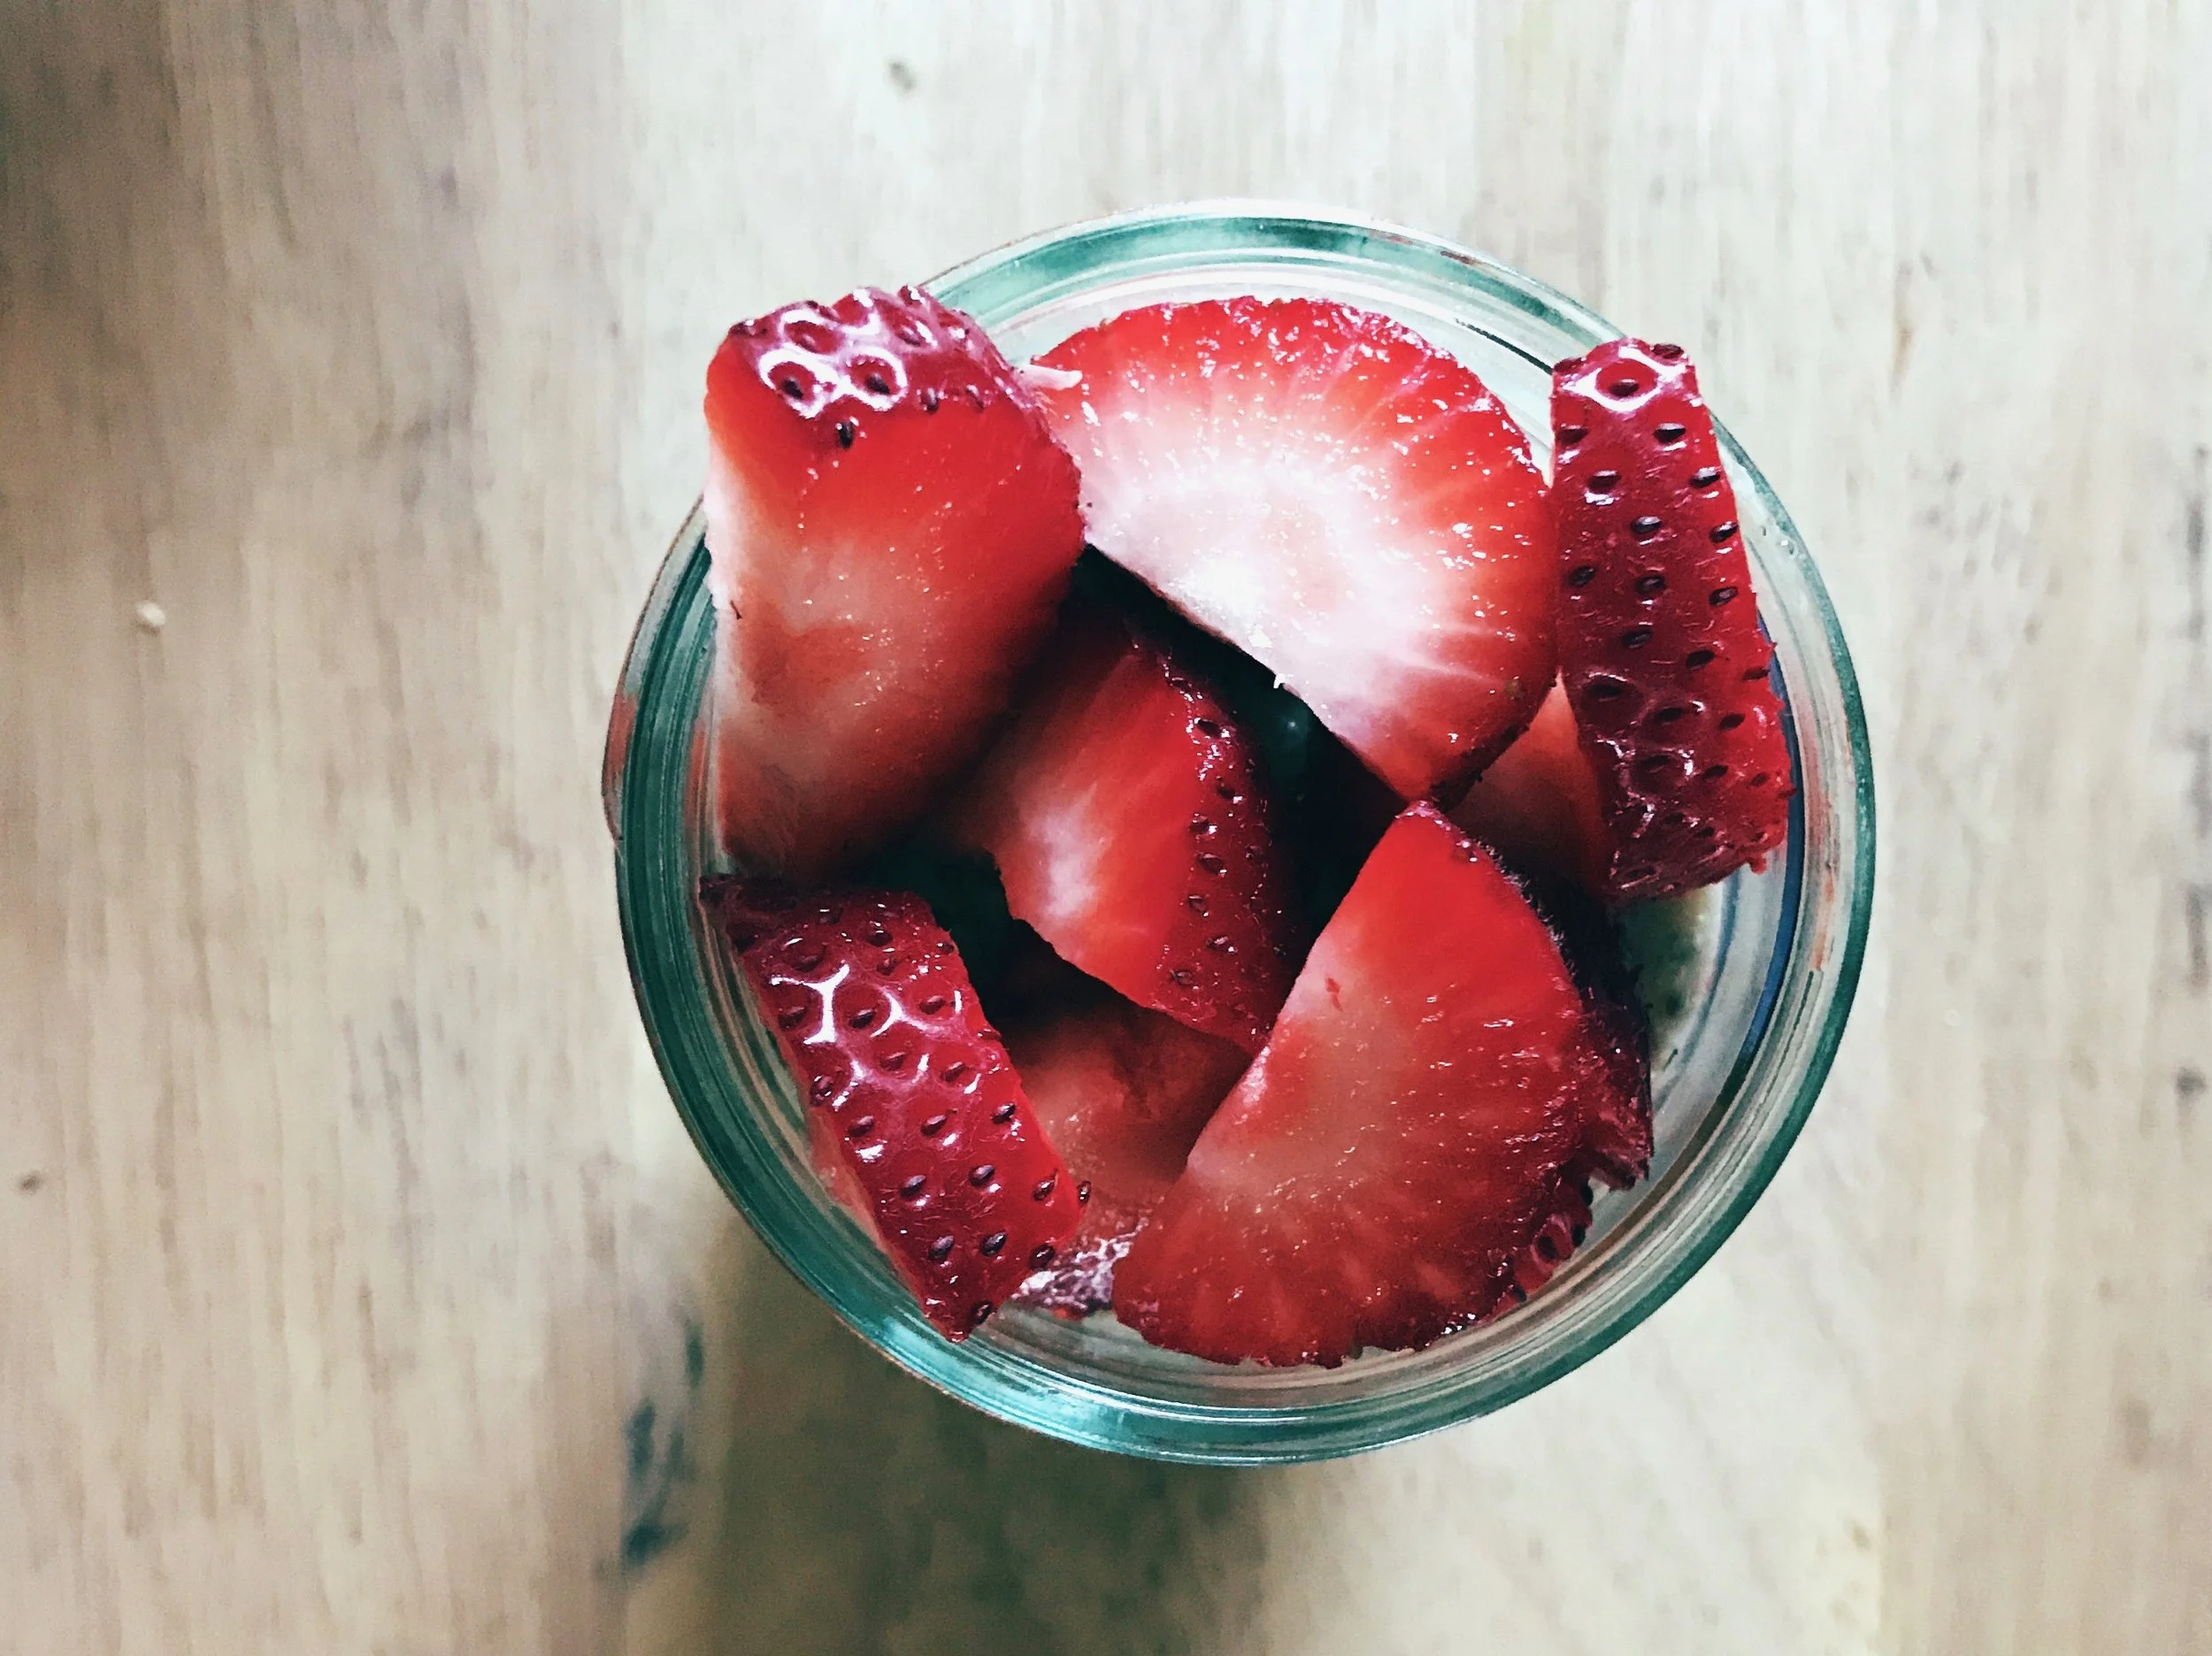
Mix Coconut Milk, Matcha, and Chia seeds together until there are no dispersed chunks. If you have access to a blender bottle, utilize this for blending purposes. After evenly blending, pour into mason jars and place in refrigerator for at least four hours; if you are able, store them overnight for a breakfast ready treat. Once you are ready to eat one of the servings, feel free to garnish it with berries, shredded coconut, or seeds. My favorite is chopped strawberries or blueberries! Each jar will keep for up to seven days if kept refrigerated. Enjoy!
*Note: If you have a nut allergy, oat milk or quinoa milk or flax milk are great alternatives to a nut milk. If you are not a fan of coconut milk, feel free to swap out with another nut milk if nuts are not a problem for you.